Set Up AWS Seed Credentials
The AWS credentials required to run the 4 demos of the Agile Cloud Manager can be created by following the steps in the AWS Console described in this section.
Step One: Create IAM Group With PowerUserAccess
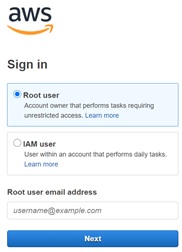
Start by navigating to https://aws.amazon.com/ and logging in to an account for which you are either root or a high enough administrator to be able to do everything in this demo. Note that permissions can be restricted later once you have the demo working in a sandbox.
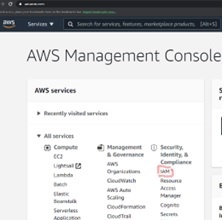
Once you are logged in, select IAM from the list of services as shown.
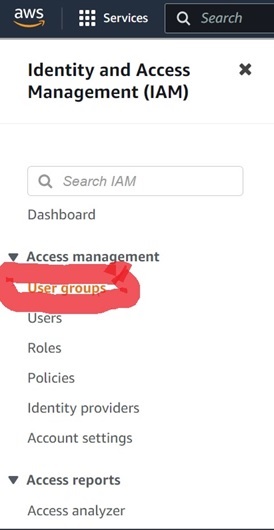
Next, on the left-hand side of the resulting screen, click on the “User Groups” link to begin the process of creating a new class of user to perform automated tasks in this demo.
On the next screen, click on the “Create Group” button as shown below:

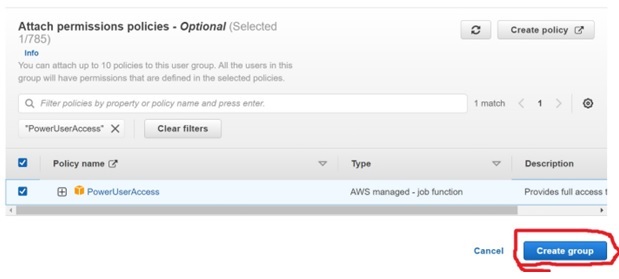
On the resulting screen, create a new group called “SuperUser”, and attach the PowerUserAccess policy to the group, and then click the “Create Group” button as shown below:
Step Two: Create IAM User And Attach To New Group
Next, create a new user by clicking “Users” on the left-hand side of the screen and then by clicking “Add Users” on the resulting new right panel, noting that two steps have been combined into one step as shown in the next screen shot below.

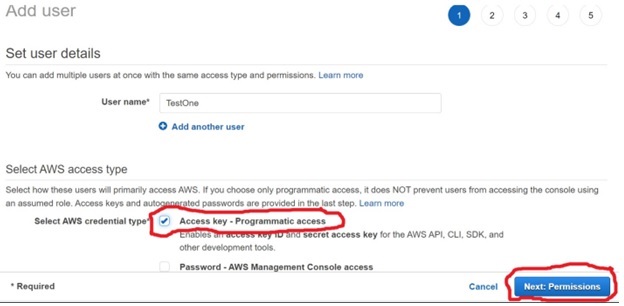
On the resulting screen, enter the name for a new user, select the “Access key – Programmatic access” check box, and then click on the “Next:Permissions” button as shown in the next screen shot below.
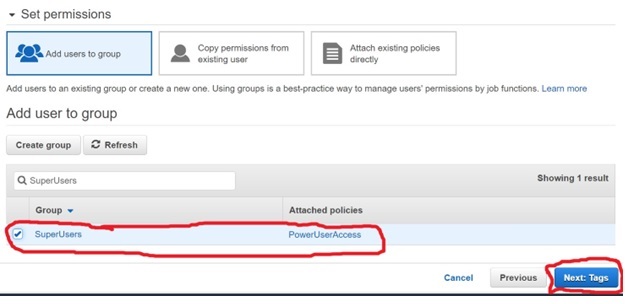
Next, check the box to add the new user to the group you created with “PowerUserAccess”, and click on the “Next:Tags” button as shown below.
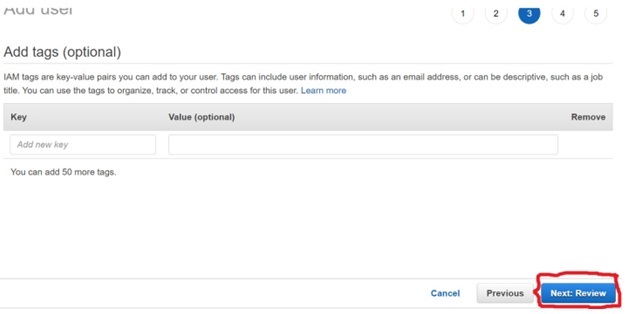
You can skip through the next screen by clicking on the “Next:Review” button as shown below.
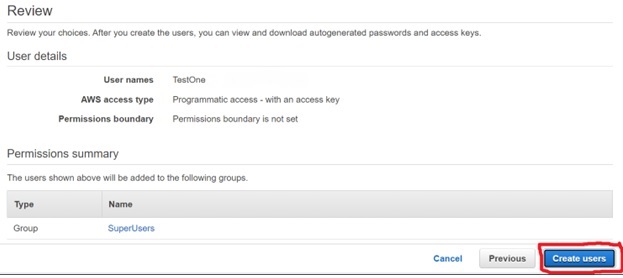
On the next screen, review the changes to be made and then click on the “Create Users” button as shown in the next screen shot.
On the resulting screen, you can retrieve the “Access key ID” and the “Secret key” for the new user to put into keys.yaml as shown in the next screen shot, which shows where this information is located with red pen circles while redacting the specifics.
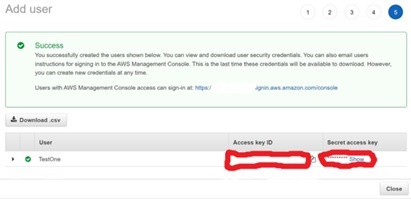
You can click the “Close” button the on the screen shown above after you have retrieved the keys.
Step Three: Create Key Pair for SSH into EC2 Instances
You will need to create an EC2 Key Pair for use when creating EC2 images and instances.
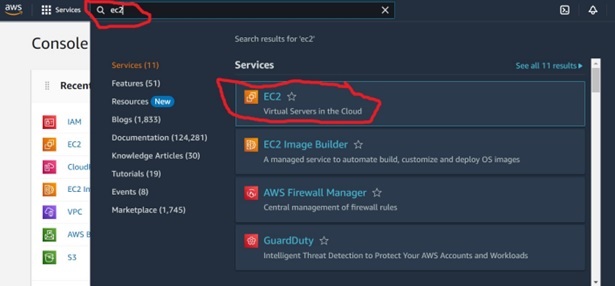
First, navigate to the EC2 Dashboard by searching for “ec2” in the search box and to top of the screen and then by clicking on “EC2” in the search results as shown in the next screen shot.
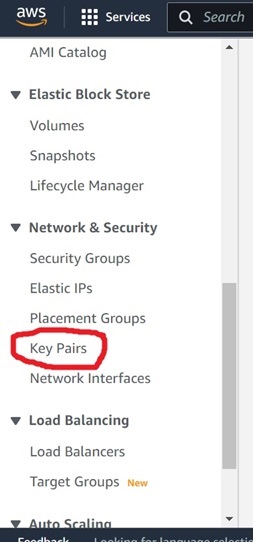
On the left-hand side of the resulting screen, scroll down to the “Key Pairs” link and click on the “Key Pairs” link as shown in the next screen shot.
On the top of the resulting screen, click on the “Create Key Pair” button as shown in the next screen shot.

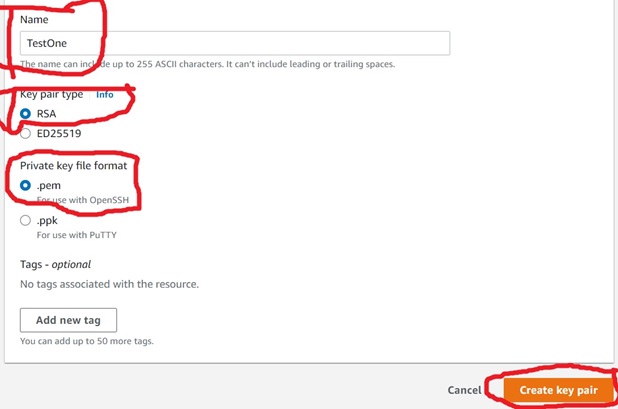
On the resulting screen, give your new Key Pair a name, then select the “RSA” and “.pem” options as shown in the following screen shot below and click on the “Create key pair” button.
Save the name of the key pair that you just created to the “KeyName” field in keys.yaml .
Finally, be sure that you have recorded the following information in a safe place that you will need when you resume the Getting Started For Engineers tutorial:
| File Name | Key Name | Value source from above |
|---|---|---|
| keys.yaml | ||
| keys.yaml | ||
| keys.yaml |