Create AWS Keys
The following instructions use a script to simplify the work of following a best practice of using non-root credentials to orchestrate infrastructure using Agile Cloud Manager. You will need to create Power User credentials to run the example appliances. But later on, you can experiment with narrowing the scope of the created user’s authorizations before you migrate your Agile Cloud Manager appliances into production.
For now, simply complete these steps as follows:
Step One:
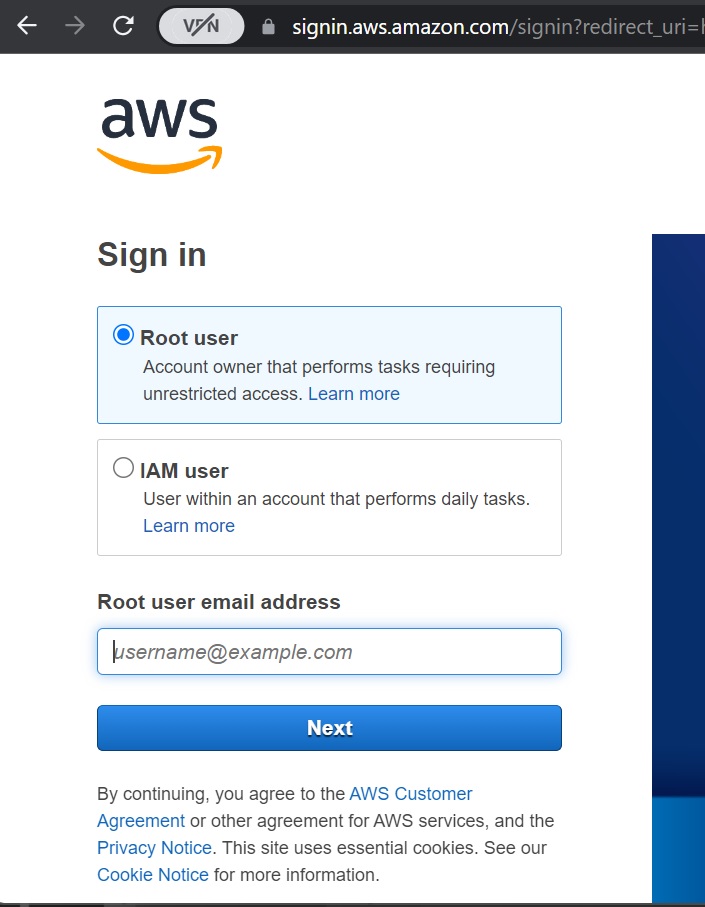
Log in to the AWS GUI console as root. You will need to be a super user to create PowerUsers and perform other high-authority actions required to create the credentials required for this demo. Later on, after you have gotten the demo running successfully as root, you can later on experiment with tightening security for subsequent ongoing work.
Step Two:
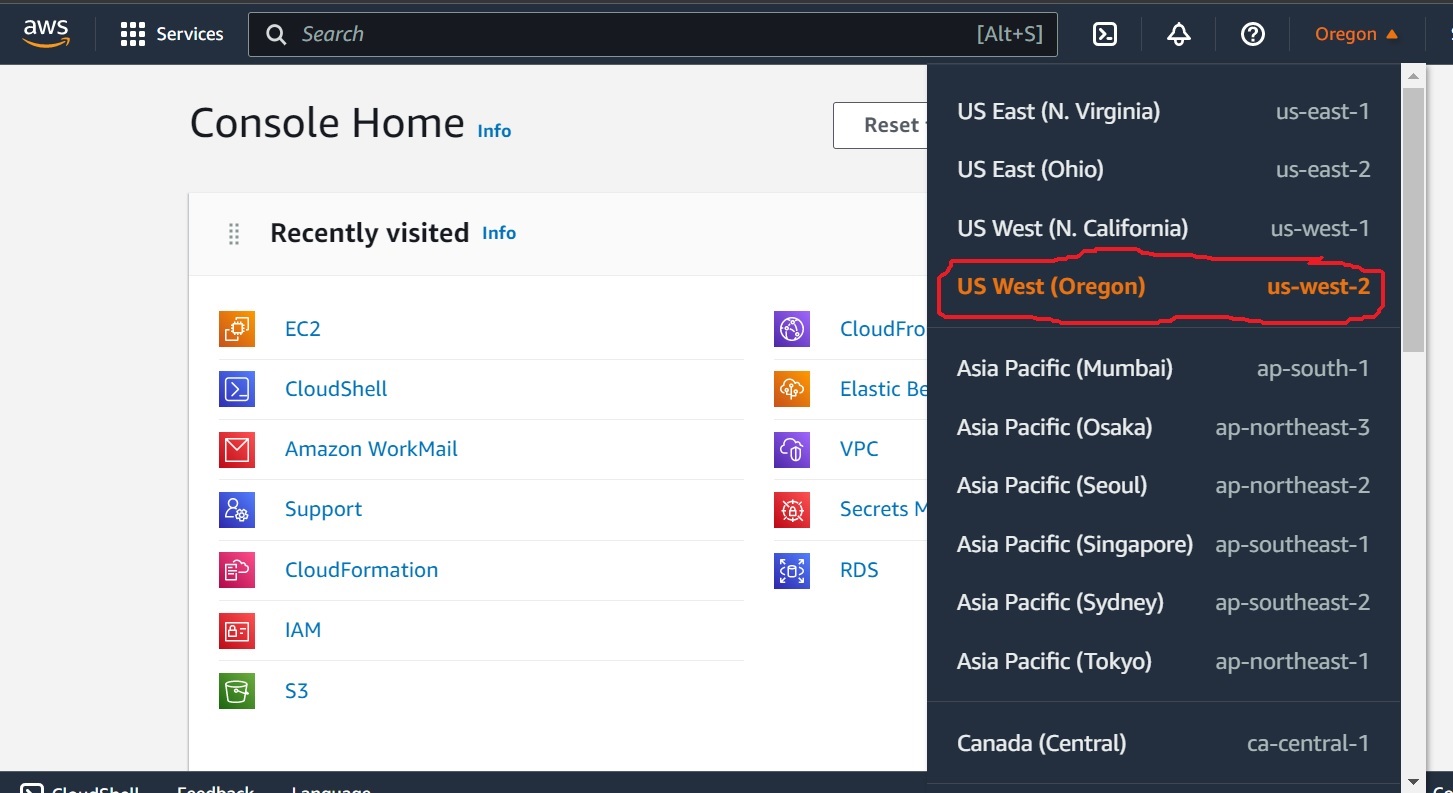
Set the region to us-west-2 for the demo, as shown in the next screen shot. (Later, after you successfully complete the demo, you can experiment with other regions)
Step Three:
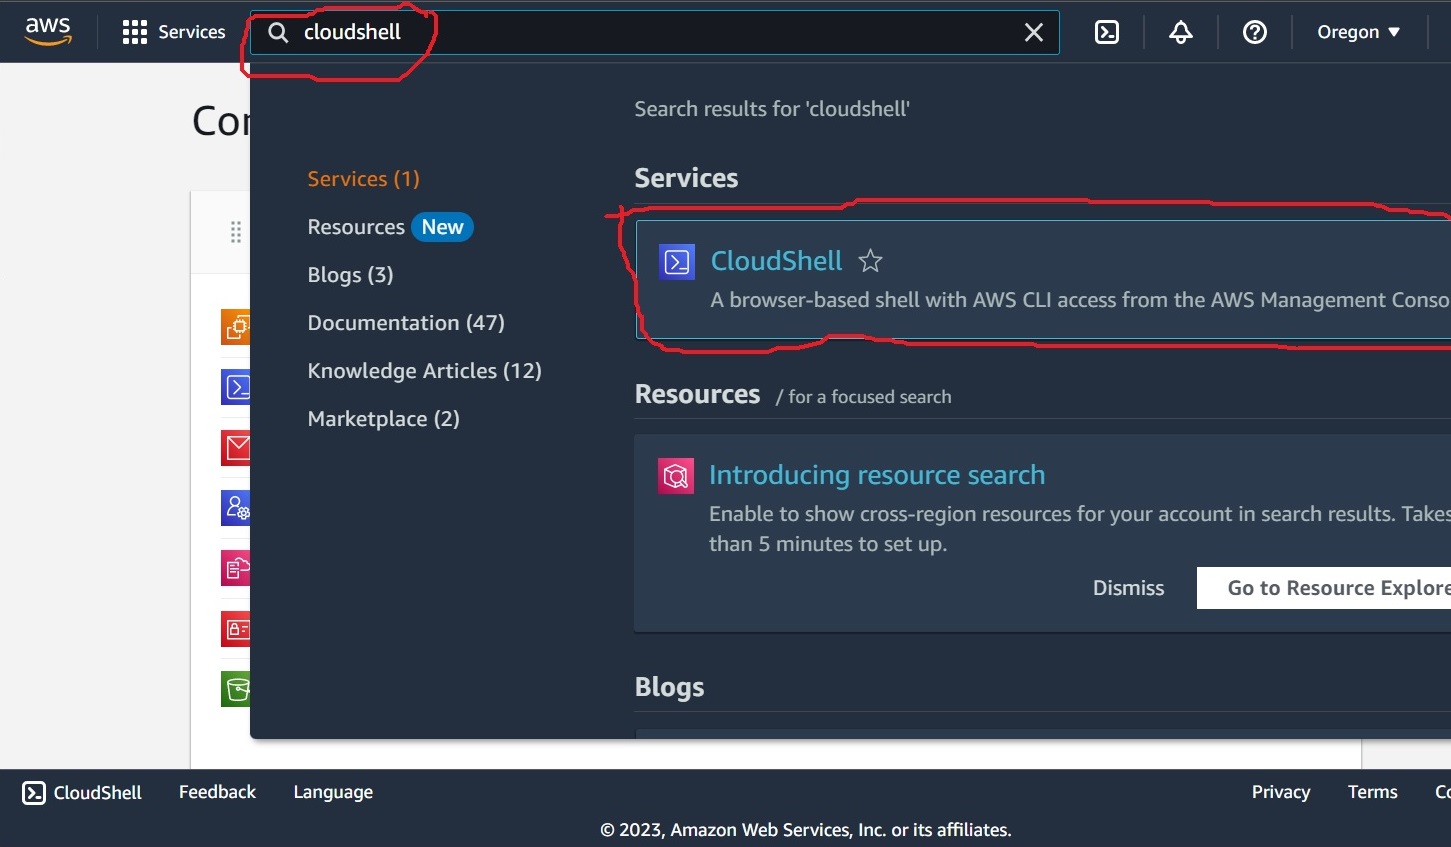
Search for “CloudShell” in the AWS services as shown in the following screen shot, and click the link to navigate to open a cloudshell terminal.
Step Four:
Type “aws –version” in the cloudshell terminal. This is tested in version 2.11. If you later encounter problems, note the version. and please report back to us.
Step Five:
Download the demo setup script into your cloudshell by typing the following into the terminal:
wget https://github.com/AgileCloudInstitute/acm-demos-github/blob/main/acmDemoSetup.py?raw=true -O acmDemoSetup.py
Step Six:
Confirm that the file has been successfully downloaded by typing “ls -al” and looking for the file name in the results.
Step Seven:
Run the following command to create IAM resources including keys:
python3 acmDemoSetup.py create aws userName=ACMUser_xyz groupName=SuperUserACM_xyz keyPairName=ACMKeyPair_xyz
Note that the values for userName, groupName, and keyPairName can later be changed to be any valid values. But start with these values because they work, assuming you do not already have resources with the same names created in your account.
Also note that we are using the “python3” command because we require Python 3, and because the AWS cloud shell uses Python 2 unless you explicitly specify “python3”.
Step Eight:
Examine the cloudshell terminal output to confirm there were no errors reported, and that the keys were printed to the terminal. The command and its output might look like:
[cloudshell-user@ip-10-8-123-108 ~]$ python3 acmDemoSetup.py create aws userName=ACMUser_xyz groupName=SuperUserACM_xyz keyPairName=ACMKeyPair_xyz

Beginning to run command.

Copy the following three key/value pairs to your keys.yaml to replace the placeholders:

KeyName: ACMKeyPair_xyz
AWSAccessKeyId: AKIAYT5RE4U89OIT456S
AWSSecretKey: dr45t67uy789oikmh76yhgtr45de32ws56tgb78k

[cloudshell-user@ip-10-8-123-108 ~]$
NOTE THAT YOUR AWSAccessKeyId AND AWSSecretKey WILL BE REAL. NOTE THAT THE VALUES ABOVE ARE MADE UP FOR SECURITY REASONS, BUT AT LEAST SHOW YOU THE PROPER FORMAT.
Step Nine:
Copy the following three lines of yaml after “Copy the following three key/value pairs to your keys.yaml to replace the placeholders:” at the end of the terminal output and paste them into the keys.yaml that was created when you ran the Azure command and saved the resulting keys.yaml to your local computer.
KeyName: ACMKeyPair_xyz
AWSAccessKeyId: AKIAYT5RE4U89OIT456S
AWSSecretKey: dr45t67uy789oikmh76yhgtr45de32ws56tgb78k
Note that the 3 preceding lines will have actual secrets that you will need to copy into keys.yaml
You are now ready to proceed with either the AWS Data Lake House example appliance or the AWS Auto Scaling Group example appliance(../getting-started-for-engineers/devbox.html) using the keys.yaml and config.yaml you created here.